I started by preheating the oven to 350 Degrees and then put 1/4 pound of butter (1 stick) into a large mixing bowl.

Then, I creamed the butter, which is basically stirring it with a spoon until it reaches a soft consistency.

I added 1 pound of grated, sharp cheese. I bought the pre-shredded cheese in a bag, which saves oh so much time! I also Googled and learned that 1 pound of shredded cheese is equal to 4 cups. I'm a lifelong learner.

Next, I added 1/2 teaspoon of salt, which looks like this. (I think visuals are helpful.)

The recipe calls for red pepper and I didn't have any, so substituted a "Heavy pinch of cayenne pepper" from the Ice Box Cheese Wafers recipe that is listed below the Cheese Straws recipe in the book. Rather than sticking my fingers in a container of cayenne pepper (there are just too many things that can go wrong with that), I gave the container 2 good shakes from the sifter side of the lid. This is what a container of cayenne pepper looks like.

I stirred the butter, cheese, salt, and cayenne mixture and it started out looking like this...
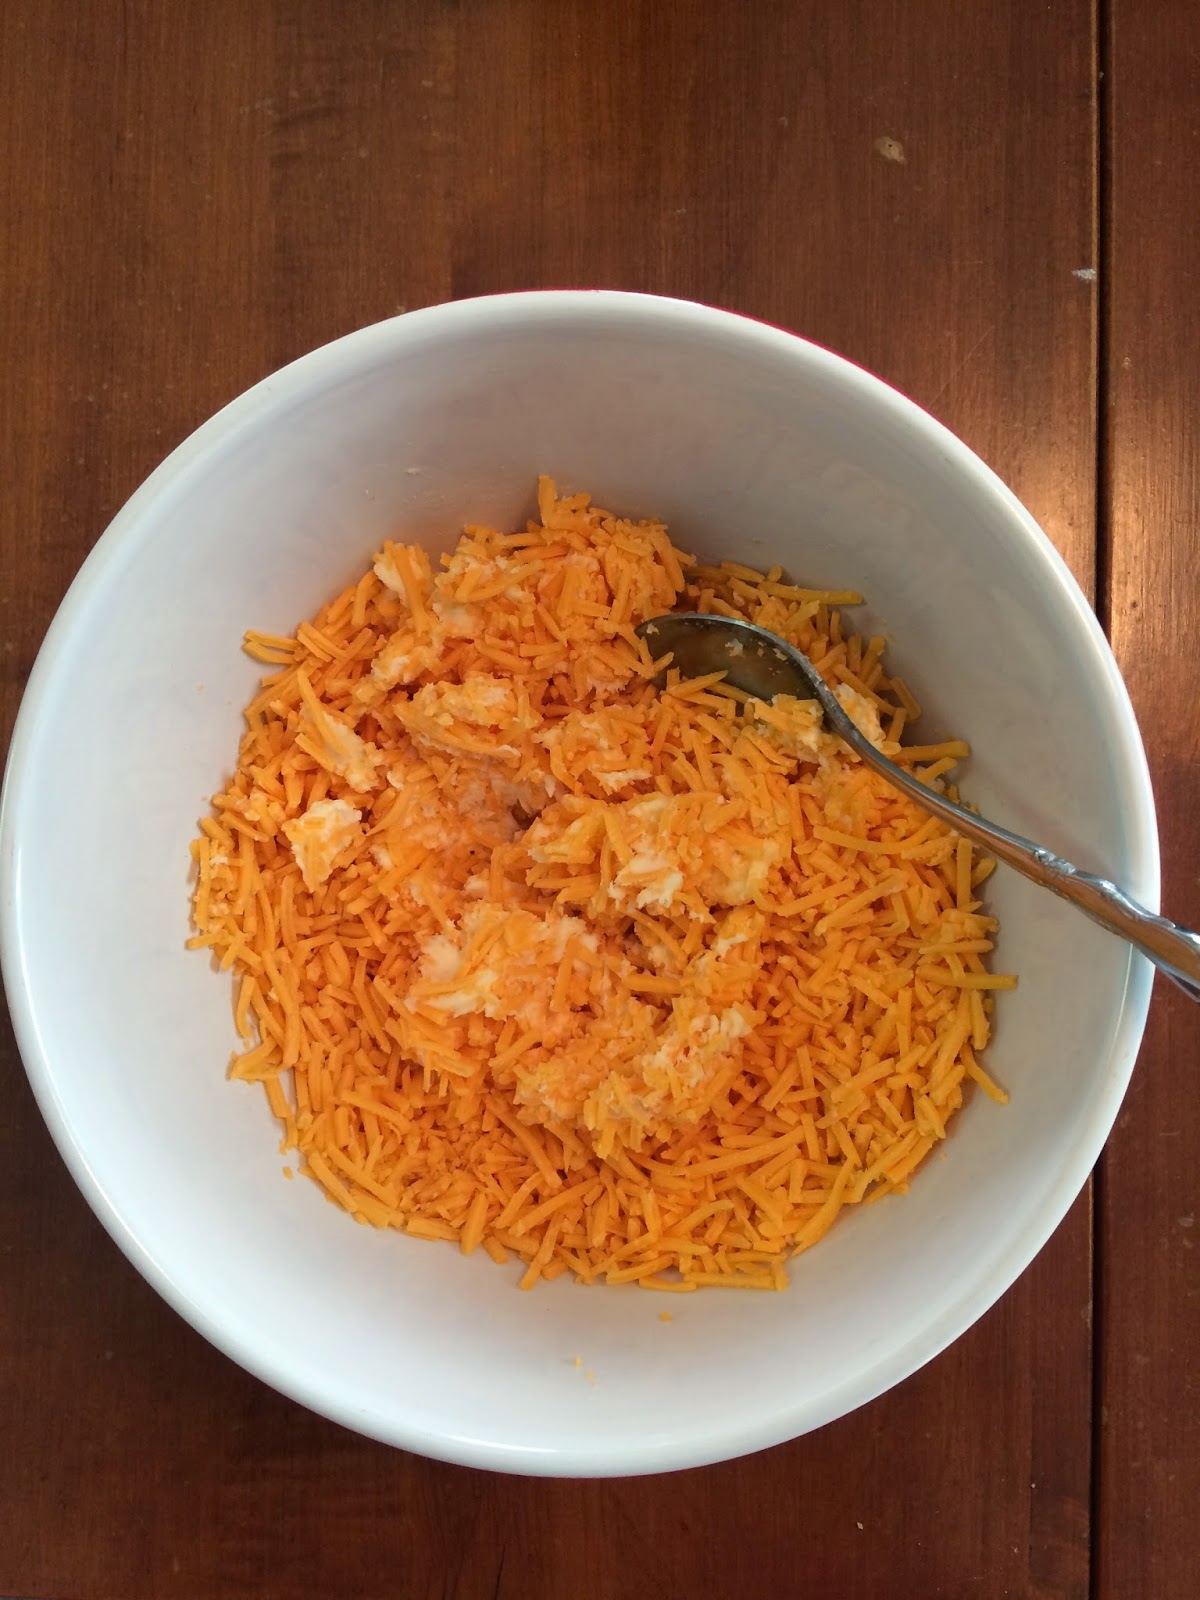
...and ended up looking like this. It was the consistency of dry pimiento cheese.

Next, I added 1 3/4 cups of plain flour.

I stirred the mixture with a large spoon, trying to incorporate all of the flour into the butter and cheese.

This became hard to do with a spoon, so I put the spoon down and started kneading the mixture with my hands, which worked much better. Eventually, the mixture looked like this and was the consistency of firm dough or Play-Doh.

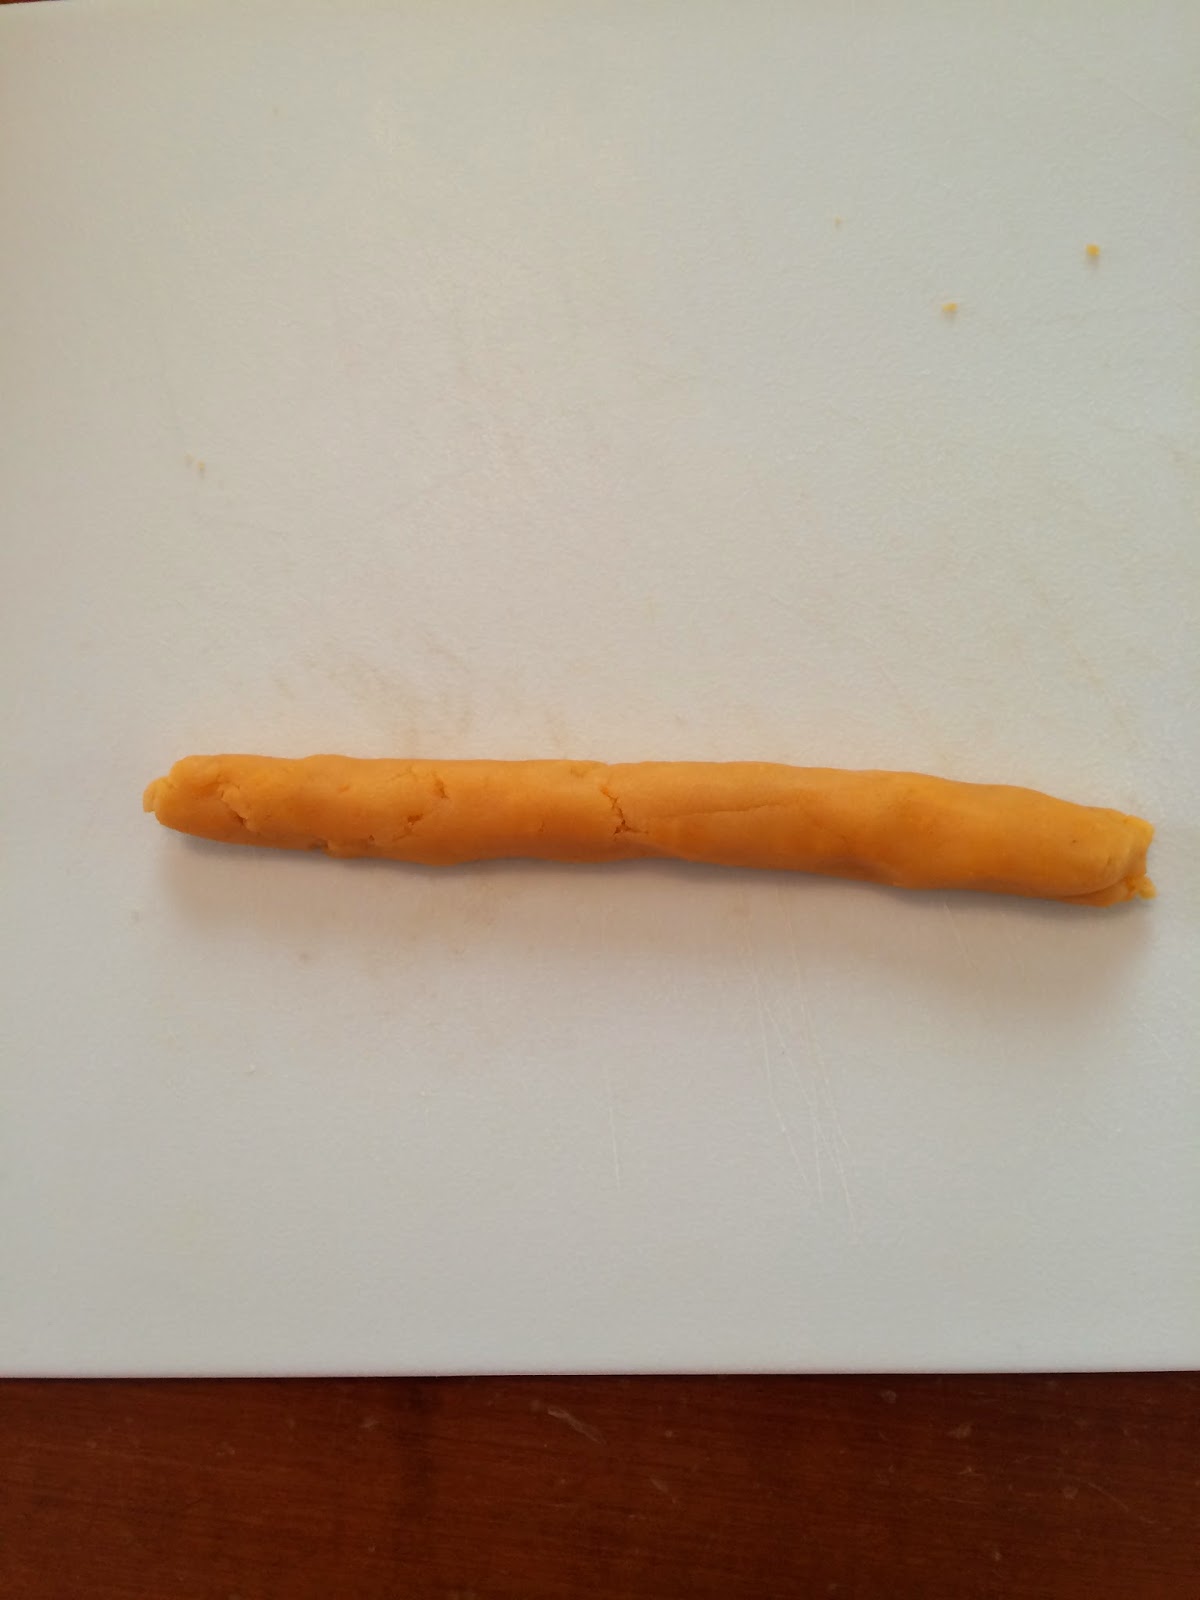
Here is where your Play-Doh skills from Pre-School and Elementary School come into play. The next step in the recipe calls for putting the dough into a cookie press (which is at my parents house) or rolling the dough thin and cutting it into narrow strips, four inches long. I opted for rolling the dough into thin strips, so I started with a handful of dough...

...and rolled it into a long strip, which Play-Doh aficionados may refer to as "making a snake with the Doh."
Next, I cut the strip into 4 inch sections and then pressed each section with a fork. The recipe doesn't say to press the fork into each section, but I just don't think a cheese straw is really a cheese straw without the fork marks.

I repeated the rolling, cutting, and fork pressing and then placed each straw on a non-stick, ungreased baking sheet. I know, I know, the ungreased baking sheet is alarming, but with a non-stick pan, there was no way these babies were going to stick with all of the butter and cheese in them. I made sure to leave about an inch or two between each cheese straw.

I baked the cheese straws for 25 minutes and made sure they were golden brown. Yes, I have a Masters pot-holder, as well as a Masters apron and Masters oven mitt. I think they add a little excellence to the cooking experience.

I let them cool on paper towels (I didn't take a picture of these. I know, shocking.). Once they're cool, they're ready to serve!

Here's a picture of Charleston Receipts. It's America's oldest Junior League Cookbook in print! I've had my copy since I was in college.

So, pick up your copy of Charleston Receipts HERE, make some Cheese Straws, and live the good life!


Such a cute post!
ReplyDelete-Linda, ny
Thanks, Linda! I'm glad you enjoyed it!
Deletethank you for your recipe..I have been searching for years for an equal to to my grandmothers cheesestraws. She made hers wider and also had the fork marks about 4 inches long. Thank you!
ReplyDelete